![Server-side rendering(SSR) with React[Part-2]](https://cdn.hashnode.com/res/hashnode/image/upload/v1628681363050/mxVhrJi4O.png?w=1600&h=840&fit=crop&crop=entropy&auto=compress,format&format=webp)


Hello folks 👋, In this article, you'll learn how you can actually server-side render a React App. This is Part 2 of Server-side rendering(SSR) with React[Part-1]. It is recommended that you go through Part 1 of this article and while you're there don't forget to leave your thoughts. :)
Article mirrors Read in your preferred platform:
Quick Recap
As we saw in Part 1 though SSR solves the problem that client-side rendered app faces like initial load time and with SEO it had its own drawbacks. Every time we visit a new page of our website, frequent requests are made to the server and our app render from the ground up.
Now, we'll discuss how we can solve this issue by SSR with React. Let's go straight on it.
SSR with React
We can have the best of both the worlds with the introduction of SSR with React.
The idea is to render our app initially from the server and then leverage the advantages of Single Page Applications(SPAs) at the client-side.
SPAs are fast and provide us with a good user experience. Therefore, we can render our app on the server initially and then from there on run our app as a SPA. Thus, apps rendered this way are called Universal Apps.
Applications that have the ability to render both on the server and the client are called universal apps.
SSR + SPAs = Universal Apps
Now we enjoy the following benefits :
- Fast load time on initial render
- Web crawlers can index our page ensuring SEO
- Also, we now can leverage the advantages that SPAs offer.
Some React methods that help us in SSR
Let's first look at the method that will be helping us to create our Universal App or Isomorphic React App, another term for such apps.
hydrate()
The react-dom package provides us with hydrate() method that is used to combine SSR and client-side rendering.
This is what React docs says about hydrate(),
Same as render(), but is used to hydrate a container whose HTML contents were rendered by
ReactDOMServer. React will attempt to attach event listeners to the existing markup.
Let's first look what ReactDOMServer is.
ReactDOMServer
As per the react docs,
The ReactDOMServer object enables you to render components to static markup. Typically, it’s used on a Node server.
ReactDOMServer.renderToString()
Now what's this I know it's getting a bit confusing but trust me they are just methods provided by react to work with SSR. I'll be summarizing all this after this last method that you should know.
Again let's see what our dear friend says. As per React docs,
Render a React element to its initial HTML. React will return an HTML string. You can use this method to generate HTML on the server and send the markup down on the initial request for faster page loads and to allow search engines to crawl your pages for SEO purposes.
Okay enough, so now you have some idea of what this above method does, let's summarize.
Our Goal
Our aim is to render the initial page directly from our server i.e server-side render our initial requests and then from thereon once we have successfully loaded our initial page we can continue using our client-side app. Therefore, we can set up our Universal (or Isomorphic) App this way ensuring faster initial load as required.
We'll render our App.js component from the server and since this is a react component we require React and ReactDOMServer at the server-side.
The goal is to create a static HTML file inside a build folder(we'll see that how later) and serve that file from the server using the express application.
Next, invoke the renderToString() method on ReactDOMServer. As mentioned above, ReactDOM.renderToString() will return a HTML string. At the server-side we'll then be sending this HTML markup to render and React.hydrate will be waiting for this server-side rendered HTML markup.
A little more clear, huh but now let's solidify the concept.
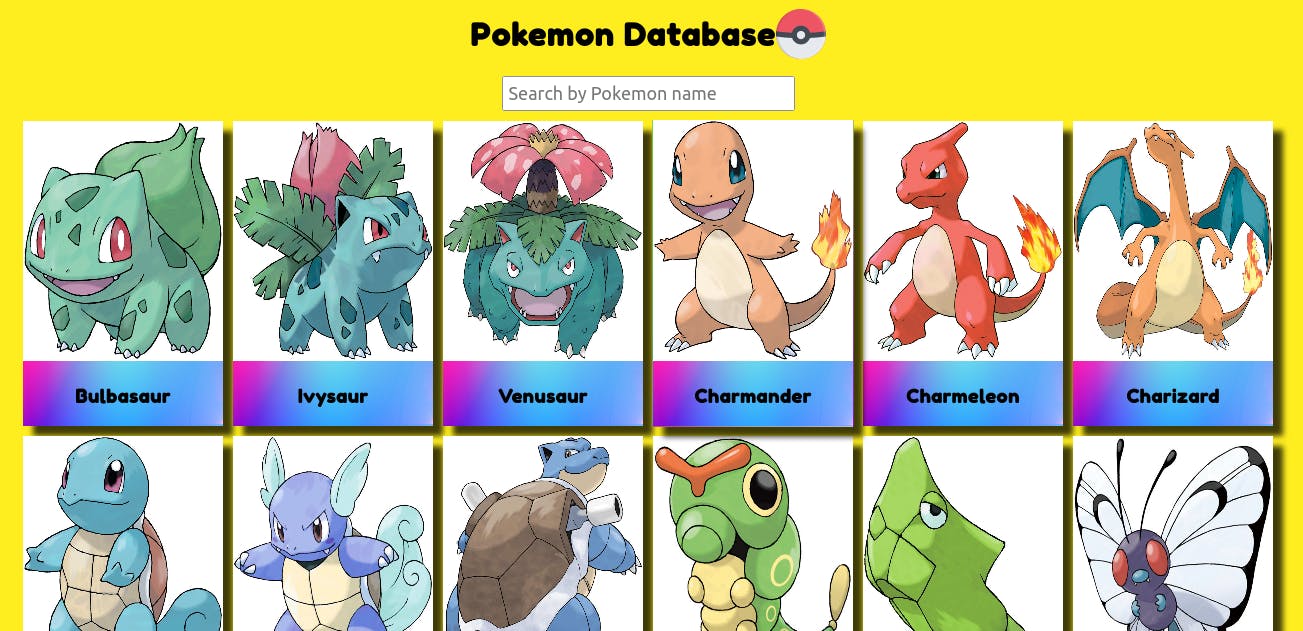
SSR in practice
We'll be making a simple Pokemon Database app where you can search for your favorite pokemon. We'll only focus on setting up the SSR with React. The entire source code can be found here.
Excited? let's continue.
Step 1 : Project Setup
First things first, let's install our create-react-app and clean up the boiler-plate code.
npx create-react-app ssr-with-react
Next, we need a server. Let's install express.
npm install express
Step 2 : In index.js file change ReactDOM.render() to ReactDOM.hydrate().
This tells react to render HTML markup coming from the server.
import React from 'react';
import ReactDOM from 'react-dom';

import './index.css';
import App from './App';

ReactDOM.hydrate(<App />, document.getElementById('root'));
Step 3 : Working at the server-side
We're now left to setup our server-side code.
Create a server.js file where we'll setup our server.
import initialRenderRoutes from './routes/initialRenderRoutes.js';
import path from 'path';
import express from 'express';

const app = express();
app.use('^/$', initialRenderRoutes);

app.use(express.static(path.resolve(__dirname, '../build')));

const port = 5000;

app.listen(port, () => console.log(`Server running on port ${port}`));
Let's examine the code. The first line imports initialRenderRoutes.js. I like to split my code following MVC architecture.
In initialRenderRoutes.js we have,
import express from 'express';
import initialRenderController from '../controller/initialRenderController.js';

const router = express.Router();

router.get('/', initialRenderController);

export default router;
So it's pretty simple, if you have worked with an express app, though it wasn't necessary to split up the code but personally I prefer MVC architecture.
Now in initialRenderRoutes.js I've imported initialRenderController.js where our whole logic lies, again done to follow the industry standards.
import fs from 'fs';
import path from 'path';
import React from 'react';
import ReactDOMServer from 'react-dom/server';

import App from '../../src/App.js';

const initialRenderController = (req, res, next) => {
  console.log(path.resolve());
  fs.readFile(
    path.resolve('../client/build/index.html'),
    'utf8',
    (err, data) => {
      if (err) {
        console.log(err);
        return res.status(500).send('Internal Server Error');
      }
      return res.send(
        data.replace(
          '<div id="root"></div>',
          `<div id="root">${ReactDOMServer.renderToString(<App />)}</div>`
        )
      );
    }
  );
};

export default initialRenderController;
Ok so now coming back to our server.js file we serve our static files with the following line,
app.use(express.static(path.resolve(__dirname, '../build')));
Now comes the interesting part. Now as you might have noticed the logic in initialRenderController.js we're first reading our index.html file from our build folder(and to be clear it'll will be generated via npm run build command, we'll discuss this later) and then we
send the HTML markup pre-rendered. Below code in initialRenderController.js demonstrates that.
  ...
 return res.send(
        data.replace(
          '<div id="root"></div>',
          `<div id="root">${ReactDOMServer.renderToString(<App />)}</div>`
        )
...
As you can clearly see we're replacing the content of our index.html with the HTML markup.
So in this way, we have our app that comes pre-rendered from our server, and by now you know the advantages of loading initial HTML requests from the server.
Step 4 : Managing our entry point to the server
Create a new index.js file which will be the entry point of our server.
require('ignore-styles');

require('@babel/register')({
  ignore: [/node_modules/],
  presets: ['@babel/preset-env', '@babel/preset-react'],
});

require('./server');
Now, what's all this? 🤯 Ok so let me tell you, you'll be requiring some packages so that our app works as desired.
ignore-styles is required for correctly rendering our styles. If you remove this your app will be rendered but without styles and who wants that. So make sure you include this.
@babel/register is required for simply transpiling our code. For more information, you can check out my stackoverflow question which I asked recently. Also, don't forget to check out the comment section of the accepted answer you'll learn a lot from there
Step 5 : Testing our app
Now, you're all done. Let's test our app. Since our server is serving the static files we need to generate them first. Navigate to your working directory and type
npm run build
Now a build folder will be generated which contains all the static files that our server requires.
Next, in your terminal type
node server/index.js
Now check your browser at localhost:5000 you'll see your app rendered on the screen. Hurray! ⚡
Therefore, we've achieved our goal of sending a pre-rendered HTML markup to our users.
Pheww...that's a lot, now you have a Universal(or Isomorphic) app ready with you. Congrats. 🎉
Conclusion
This article was a continuation to Server-side rendering(SSR) with React[Part-1] so I would recommend you to read this quick article to know the WHY behind all this.
I hope you liked the content. More articles are on the way, Stay Tuned! 🔥 If you have any suggestions or questions or found this article helpful, please let me know in the comments.
Follow me on Twitter.